
How to use
Learn how to use the PadDIY Leak Tester. Step‑by‑step instructions, setup tips, and best practices for accurate pad adjustment and reliable performance.

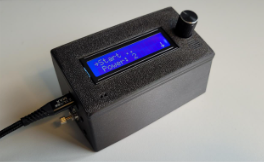
On the front
Rotary knob, LCD display, Speaker
Green led: pump running
Blue led: Companion app connected via Bluetooth BLE
Left side
USB connector
Volume valve FL to adjust the airflow
LCD contrast adjustment
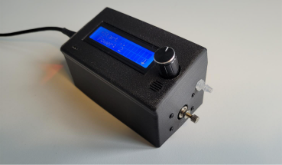
Right side
Test port to connect the air tube
Pressure valve PR to adjust the maximum pressure
Usage
- Connect the test tube securely to the test port to ensure airtight measurement.
- Connect PadDIY to a USB-C power source (adapter or power bank).
- The leak tester displays the main menu on startup.
- Connect the other end of the test tube to your instrument. Close the other end of the instrument with a blind plug.
- Select Start and press the button. The pump starts and the measurement screen appears. The airtightness percentage shows 0 % since there are open tone holes on the instrument.
- Close the tone holes on you instrument. The airtightness percentage will increase since less air is flowing through the instrument. Ideally it should get op to 90% or higher.
- During the measurements an audio signal will indicate the airtightness. The higher the tone, the better the tightness. The beep tone is audible starting from a closure of 20% (with the default settings).
- If the percentage is less try to tighten various pads to see which one might be leaking air.
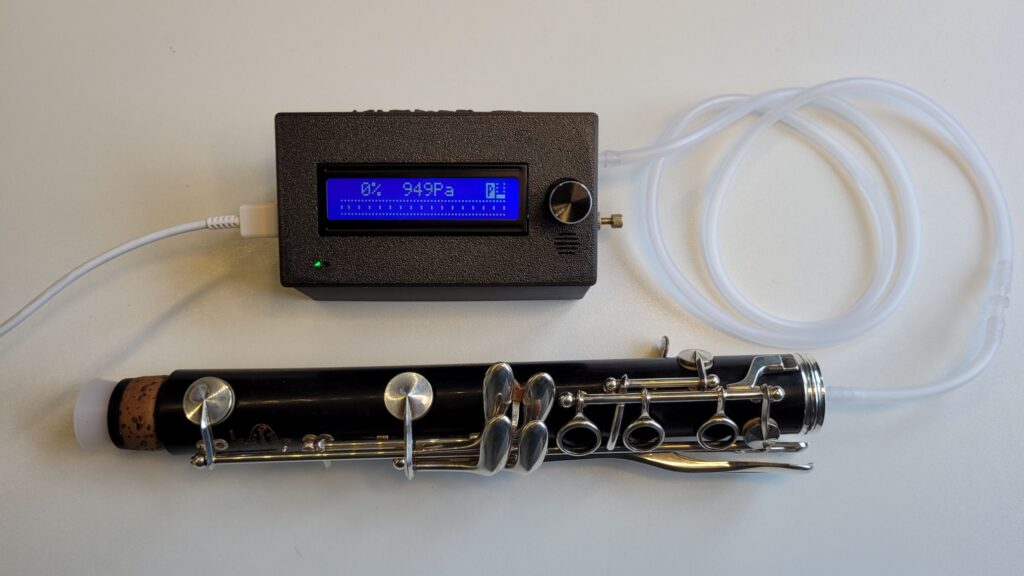
Measurement display
During measurements the following display is shown:

The display indicates
- The airtightness percentage. 100% = completely airtight.
- The pressure in Pascal over the pressure sensor. A value of 0 Pa means completely airtight.
- The icon P indicates the selected power level, ranging from 0 (minimum) to 4 (maximum).
Adjusting the Audio Threshold
The threshold for audio feedback can be set as a percentage of the measured airtightness. When the instrument’s airtightness rises above the selected threshold, a beep will sound to indicate that the desired value has been reached.
The threshold can be adjusted from the main menu or directly during measurements by turning the control knob.
Pressure adjustment
At higher air pressure, the risk increases that the instrument’s pads are forced open. The measurement result then becomes less reliable. For this reason, measurements are normally taken at the lowest possible pressure. A drawback of lower pressure, however, is that it takes a little longer for the air pressure inside the instrument to stabilize. With the leaktester, the pressure can therefore be adjusted.
The pump power can be set at 4 levels. This can be done from the main menu (item Power) .
The measurement pressures are shown in the table below:
| Pump power level | Airpressure (kPa) | Airpressure (cm water) |
|---|---|---|
| 1 | < 0,5 kPa | < 5 cm |
| 2 | ~1 kPa | ~10 cm |
| 3 | ~2 kPa | ~20 cm |
| 4 | ~3 kPa | ~30 cm |
Menu structure
The rotary knob gives access to the various functions of the leak tester.
- Start: Starts the pump and display the airtightness percentage.
- Power: Sets the pump power level from 1 (minimum) to 4 (maximum)
- Sound: Turn acoustic feedback on or off.
- Calibrate starts the calibration wizard for the flow and maximum pressure valve. See the calibration section.
- Advanced opens a submenu with advanced settings.
- Pwr off: sets auto power off time delay in seconds before it turns off automatically. Defaults to 5 minutes
- Sound min: threshold value for audio feedback. When below this percentage no audio feedback is given (when audio is enabled). Defaults to 20%.
- Min PWM: value for minimum pump power. Only necessary to adjust when instructed by technical support.
- Safeguard: When activated, the pump will shut off after 30 seconds if no airflow is detected.
- Bluetooth: Turn Bluetooth on or off. Keep in mind that the Companion app requires Bluetooth to be enabled.
- Factory Reset: Performing a factory reset will restore all settings to their original state. Only proceed when instructed by technical support.
- About: Display diagnostic version information
Calibration
Normally it is not necessary to adjust the flow and maximum pressure valves. When adjustment is necessary it is preferred to start the calibration wizard, either from the menu or on the companion app. The calibration procedure helps to adjust the flow and pressure valves.
- Select the menu entry Calibrate and click Proceed
- Close the flow valve FL (left) and proceed. Do not connect anything to the test tube.
- The pump starts and the current pressure and adjustment are displayed
- Now adjust the pressure valve PR (right) as indicated. To close turn clockwise, to open turn counterclockwise. When it displays OK move the menu to Proceed.
- Now the flow valve (left) should be adjusted. The display shows the adjustment again as open, close, and OK. When it displays OK move the menu to the Ready. This completes the calibration.
Instant reset of the flow percentage
Sometimes the stored flow‑rate reference can drift slightly after calibration, which may cause the displayed percentage to be inaccurate. You can instantly restore the correct reference value by holding the button for a long press while measuring with the test tube open.
Firmware Upgrade
Update your PadDIY to the latest firmware using the following link: Firmware Update
Maintenance and storage
- Store in a dry, dust-free environment
- Clean with a soft cloth; avoid solvents
- Keep sealing plugs organized and clean
- Do not expose the device to moisture or extreme temperatures.
- Always disconnect power before cleaning or storing.
- Use only the supplied USB-C cable or certified power sources.
- Avoid over-pressurizing the instrument; follow recommended test ranges.